1001 W Indiantown Rd, Ste 106, Jupiter, FL 33458
5 Awesome Tips for At-Home Oral Cancer Screening

Early detection can literally be a lifesaver, especially in the arena of oral cancer. While any dental visit is important, learning to perform an oral cancer screening at home provides a proactive route toward noticing early signs. If you want some guidance on how to begin, here are five dentist-approved tips that will help you to keep up with your oral health between appointments.
5 Tips for At-Home Oral Cancer Screening
1. Know the Warning Signs
Identifying the first signs of mouth cancer is essential for early intervention during any oral cancer check at home.
- Sores or ulcers that do not heal within two weeks.
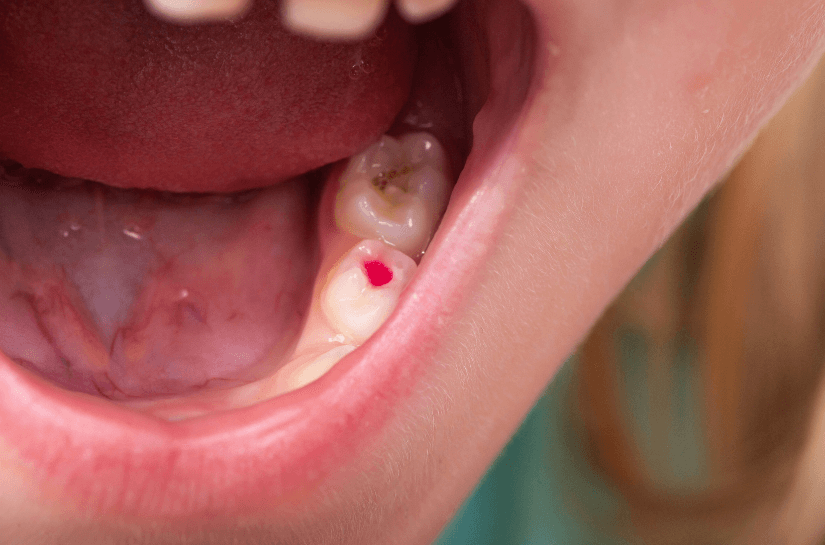
- Red or white asymptomatic patches on the gums, tongue, or inner cheeks.
- Continuous feeling of soreness or pain in the mouth or throat.
- Lumps, bumps, or rough spots on or around the mouth.
- Numbness or a feeling of something caught in the throat.
Knowing these red flags can help you act before the condition advances.
2. Have a Mirror and Strong Lighting
A clear view is essential when performing an oral self-examination.
- Use a well-lit room or a flashlight for visibility.
- Stand in front of a magnifying or handheld mirror.
- Open up wide and observe your gums, tongue, cheeks, lips, and throat.
- Tilt your head and move your mouth to get different angles.
This way, your check for oral cancer at home will be efficient and reliable.
3. Feel for Lumps or Thickened Areas
Sometimes problems are hidden beneath the surface.
- Before starting, wash your hands thoroughly.
- Gently run one or two fingertips along the inside of both cheeks and lips.
- Feel along the jawline and neck for anything that feels firmer or swollen.
- Press slightly to notice any thickened patches or unexplained lumps.
Feeling these spots regularly allows you to get to know your baseline and helps in effective oral cancer screening Jupiter.
4. Check Under the Tongue and Floor of the Mouth
This spot is a frequent site for abnormalities and shouldn’t be missed in an oral self-examination.
- Lift your tongue up with a clean finger or spoon.
- Look underneath the tongue and the floor of the mouth.
- Do you notice any swellings, color changes, or sores that just won’t go away?
- Carry out a side-to-side movement with your tongue to do a thorough check.
Making sure that you have checked thoroughly is really important for checking oral cancer at home with confidence.
5. Track Changes Over Time
Changes over time make your oral cancer screening at home all the more valuable.
- If something looks unusual, take a clear photo.
- Keep a file of notes, together with dates and descriptions.
- Do a monthly follow-up check and review the notes.
- Anything lasting for more than two weeks is worthy of attention.
- Patterns could give valuable clues where a one-time check cannot.
The American Cancer Society estimates around 59,660 new cases of oral cavity cancer in 2025. Knowing how to do an at-home oral cancer screening becomes even more important.
Checking at home is a great habit when it comes to mouth cancer, but it is never meant to replace professional care. If you come across anything suspicious or the ‘feeling’ of anything odd arises, do not hesitate to see a dentist right away. Routine dental visits combined with regular self-checks can make a huge difference in staying healthy and catching issues early. Stay alert and proactive—because your health is worth it.


